Sharpening your Tools: How I Built my Vim Config
When I was first learning to program, I searched online to find out what text editor was best. At the time it seemed like the top contenders were vim and emacs. I hadn’t heard of either, so I downloaded both and gave them a try. I didn’t love the keybinds of emacs and couldn’t figure out how to exit the program, which is kind of ironic as it’s a common vim trope. I settled on vim and decided I was going to learn it. When I first picked up Vim back in 2014, it felt like stepping into the cockpit of a retro spaceship – lots of power under the hood but not the most intuitive to maneuver, especially considering I was in school doing mostly Java development. For a while, Eclipse with Vim mode was my trusty steed, and pure Vim was reserved for everything else. Things stayed like this for a while.
Fast forward to 2018, my coding adventures took a JavaScript turn, and it felt natural to hop back into Vim. No plugins, no configurations – it was Vim in the raw, a choice that felt akin to forgoing a graphical UI in favor of a terminal (madness to some, but pure bliss to a select few).
As time passed, and 2020 rolled in, I decided to give Visual Studio Code a whirl. Its bells and whistles such as fuzzy finding and LSP (Language Server Protocol) integration, were undeniably attractive. But I could never get over how slow it felt and how I couldn’t split windows as much as I wanted (I use splits a lot). This led me to supercharge my Vim setup with the coc plugin and CtrlP for an experience akin to the modern editors. It was a sweet spot that combined Vim’s efficiency with modern features.
The journey didn’t end there, though. I came across theprimeagen and tjdevries on youtube, both Neovim aficionados who would finally sway me to the Neovim side. Lua configuration? Now, that was tempting! I had used vim for years but never felt the desire to learn vimscript because learning a language just for my editor seemed like a bad ROI, but I had used lua before. After initially resisting Neovim’s siren call, I plunged in, only to find the waters of pre-configured distros like AstroVim and LunarVim too tempestuous for my taste – they played too fast and loose with Vim’s sacred defaults and I had years of muscle memory built up.
So, I backtracked, transplanting my .vimrc into Neovim without initially tapping into the Lua ecosystem. But I couldn’t resist the allure of Lua and fancy neovim plugins for long. My first attempt at a Lua config, though, was like a Jenga tower – a precarious structure that could topple at any moment.
Salvation came in the form of TJ’s kickstart.nvim. It was stable, it was reliable, but updates were painful since I would copy the kickstart config, edit it, and then have to figure out what parts I changed when I wanted to upgrade.
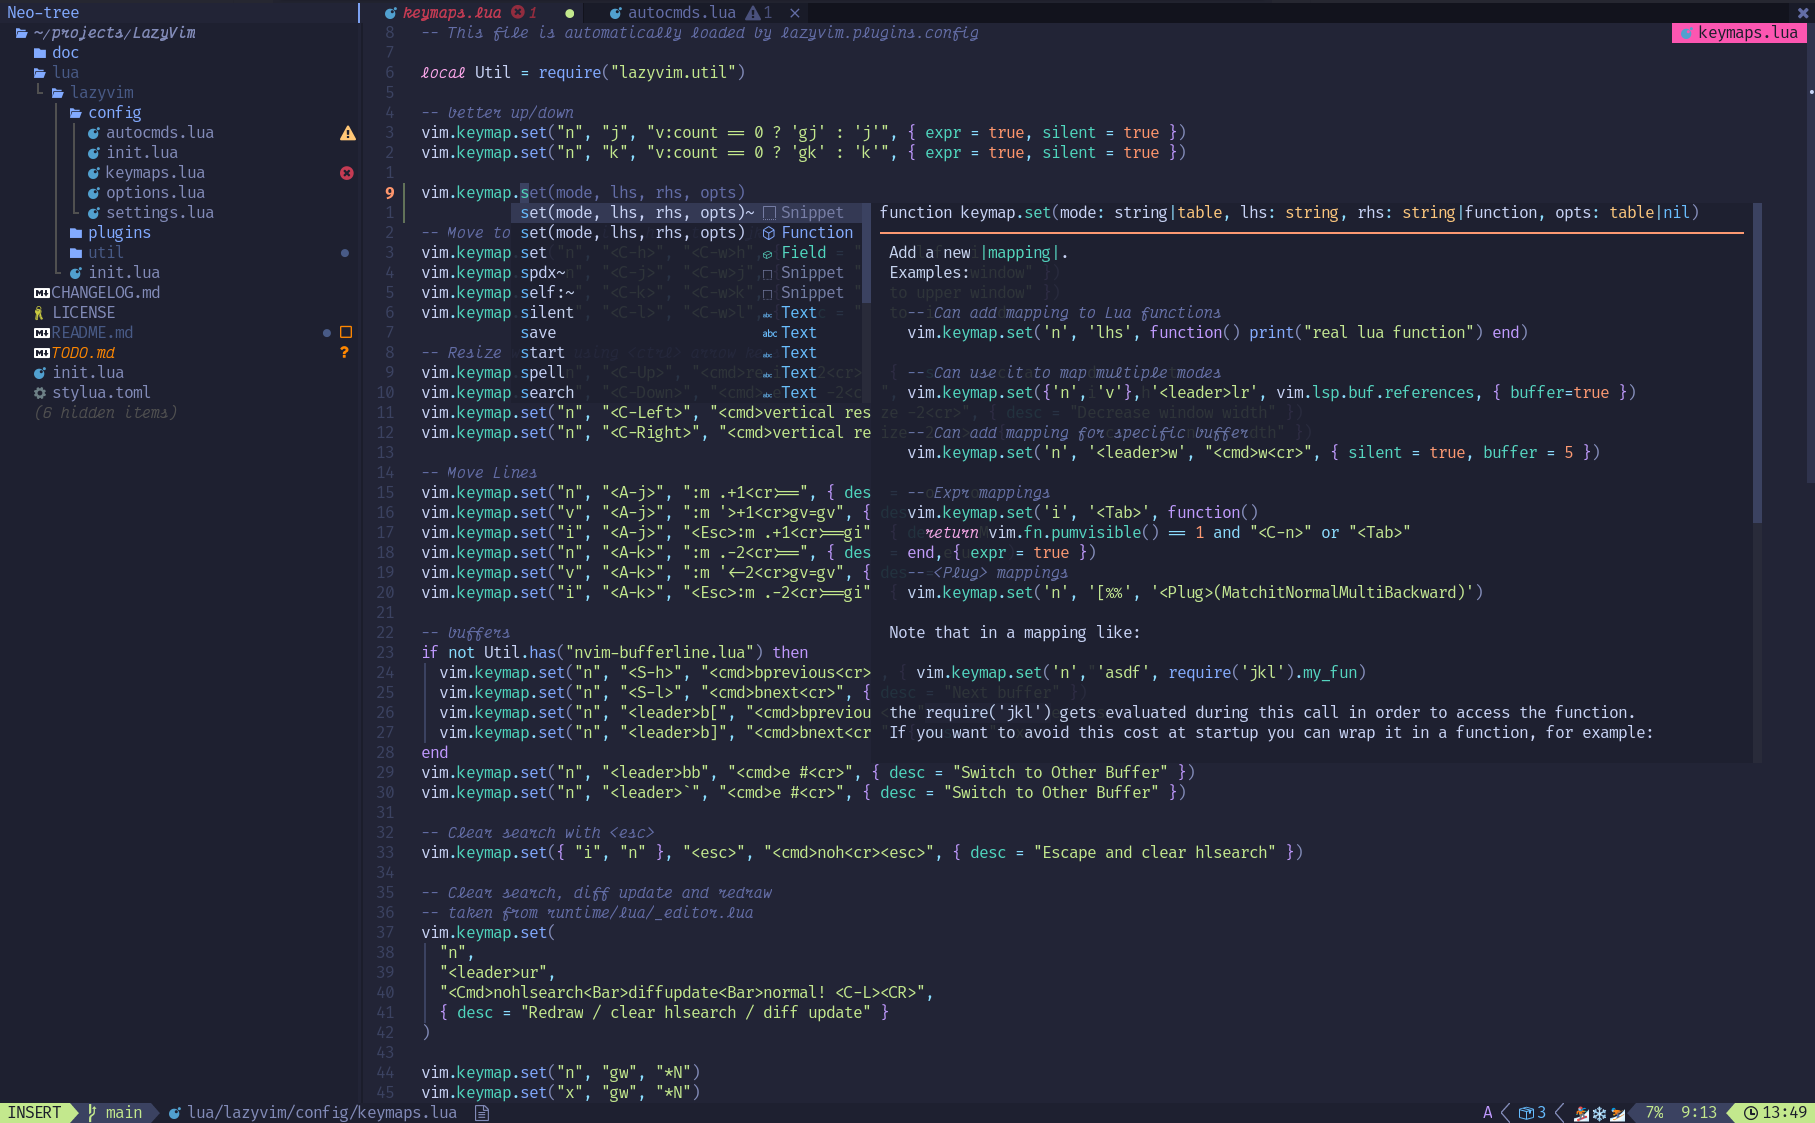
Then in 2022 along came the lazy package manager, a successor to Packer that promised an easier life with lockfiles for stability. I tried replacing packer with lazy in my existing kickstart config, but I was left with another unstable setup. A preconfigured distro called LazyVim by the same author as the package manager promised a stable setup built with the new package manager as a foundation. The transition to LazyVim was a leap of faith having disliked distros before, but it paid off. I had to bench a few trusty plugins and tweak some of LazyVim’s defaults, but I picked up new ones and what I got in return was a robust, self-updating, and delightfully efficient development environment.
A year has gone by with LazyVim, and my setup is a well-oiled machine. The system just works, letting me focus on code rather than configuration. Now, I sit back, write code, and watch as my editor quietly updates itself with a few keypresses, a testament to the wonders of community-driven innovation in the world of open source. It’s been a wild ride from stock Vim to LazyVim - hopefully I can stay here a while with an efficient and stable setup. Knowing my tendencies though, I’m sure I’ll be tweaking it again.